How to: US Finbox

The US finbox is the most common type of finbox. And that’s good news. This is the best finbox to experiment with your fin and your board.

This model is specially designed for multiple purposes. The fin can be placed in different positions so you have more control over your board’s performances.

There are several fins on the market that you can experiment with. The standard pvc fin is a great fin for beginners and recreational tours.
If you use your sup for tour or racing purposes, then a honeycomb fin may be for you. This fin is made of fiberglass, which makes the fin extremely strong. This makes it stable and glides smoothly through the water.

POSITIONS

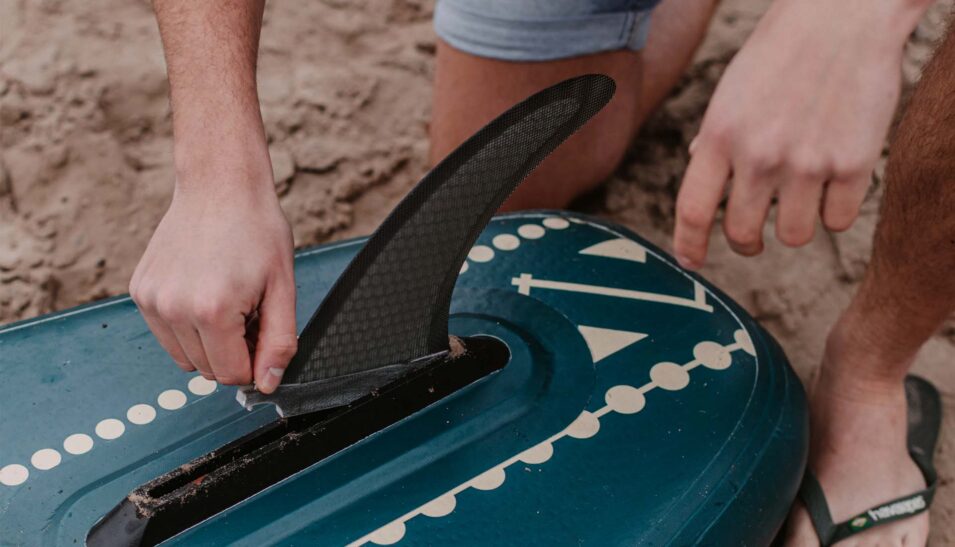
MOAI boards come standard with the US finbox. This offers a versatile board and a more customized sup experience.

There are three positions you can place your fin in:

Fin forward:
With the fin in the forward position, the board is easier to maneuver.
The board will be easier to turn and therefore suitable for recreational use or wave surfing.

Fin in the middle:
When the fin is in the middle of the finbox you have more balance. This is nice for all-round use or while practicing yoga

Fin back
If you place the fin more back, your SUP will focus more on the straights because you create less resistance. This is ideal during races or long tour trips.
Experiment yourself with the different positions to feel the difference, and adjust the fin to your own needs.

How to attach the fin?

HOW DO YOU PLACE THE US FIN?
FOLLOW THE STEPS BELOW:

1. Place the bolt in the front of the US finbox. The easiest way to do this is by turning the screw into the screw plate and sliding these two parts together in the front of the US finbox.

2. Then loose the screw and leave the screw plate in place

3. Place the middle fin. Slide it trough the opening and place the fin in the desires position in the box.

4. Tighten the screw firmly

5. The middle fin is now correctly placed.

When purchasing a MOAI board you will receive a user’s guide in which all the steps are explained.


Bekijk meer blogs

NO MENU